Planning a trip to India is the beginning of a life-changing adventure. However, before you can dive into a plate of authentic Chole Bhature or stand in awe before the Taj Mahal, there is one essential hurdle every traveller must clear: getting a Visa for India.
In years past, getting a visa for India was a notorious headache involving physical paperwork, embassy visits, and weeks of waiting. Thankfully, the digital age has arrived in full force. The India e-Visa system has revolutionized the process, making it possible to secure your entry from the comfort of your own home.
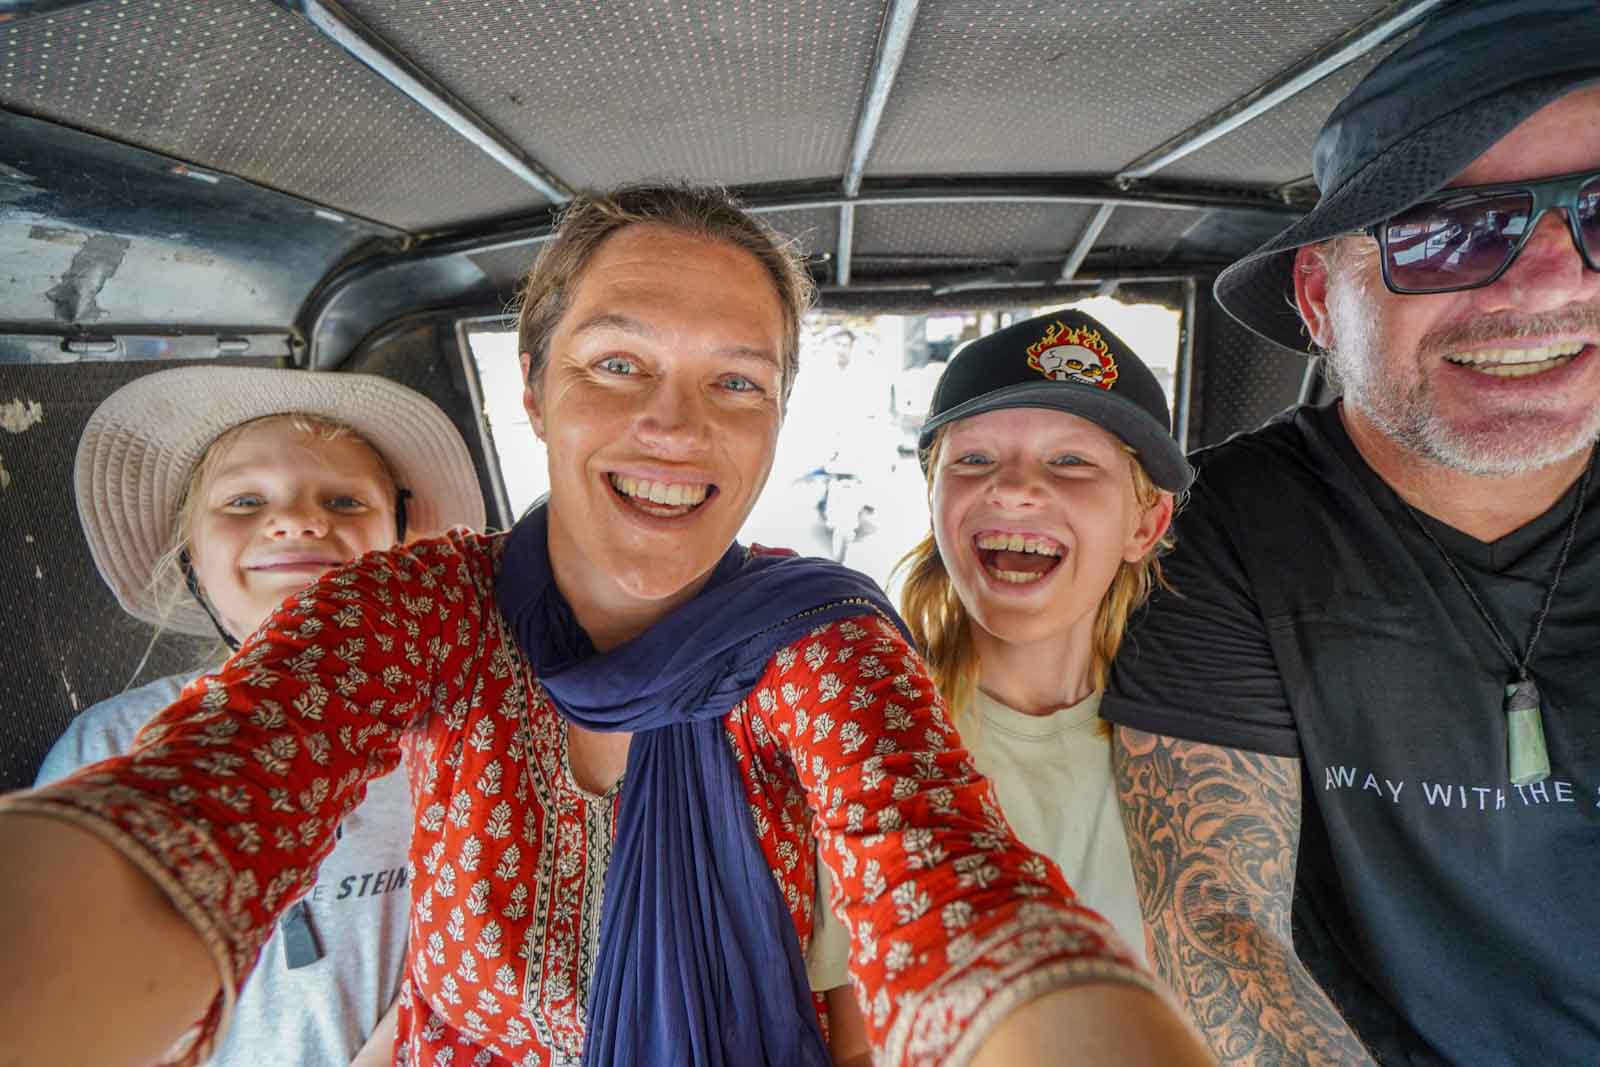
Because we’ve navigated this process multiple times (with kids in tow!), we’ve put together this comprehensive step-by-step guide to help you navigate the official portal, avoid common mistakes, and get your Electronic Travel Authorization (ETA) Visa for India without the stress.
Ready? Challo!
Part 1: The Basics – What is a Visa and Why Do You Need One?
Before we jump into the ‘how-to’, it is important to understand the ‘what’ and ‘why’.
What is a Travel Visa?
A travel visa is an official document issued by a government that grants a foreign national legal permission to enter, stay within, or leave that country for a specific period.
Think of your passport as your international ID, and your visa as the ‘ticket’ that allows that ID to pass through a specific country’s gates.
Historically, visas were physical stamps or stickers placed directly onto the pages of your passport. While these still exist for long-term work or residency, most countries—including India—now use e-Visas. These are digitally linked to your passport number, though you are still required to carry a printed copy of the authorization when you fly.
Why do you need a Visa for India?
India maintains a strict visa policy to manage national security and regulate the flow of international visitors. Almost every nationality in the world requires a visa to enter India. Only a tiny handful of countries (such as Bhutan and Nepal) have visa-free entry privileges.
If you arrive at an airport headed for India without a valid e-Visa or physical visa, you will be denied boarding by your airline.
There is no ‘Visa on Arrival’ in the traditional sense where you can just show up and apply; the e-Visa for India must be applied for and granted before you depart.

The Different Types of Indian Tourist Visas
When applying online, you will see several categories.
It is vital to choose the one that matches your travel intent:
- e-Tourist Visa for India: The most common choice. This is for sightseeing, recreation, casual visits to meet friends or relatives, or attending a short-term yoga program.
- e-Business Visa: For those visiting for meetings, sales, or trade.
- e-Conference Visa: Specifically for attending international seminars or workshops authorized by the Indian government.
- e-Medical Visa: For those seeking short-term medical treatment in India.
- e-Medical Attendant Visa: For up to two people accompanying a patient with an e-Medical visa.
Part 2: Your e-Tourist Visa for India Duration
Not all tourist visas are created equal.
Depending on how long you plan to explore the subcontinent, you have three main options for the e-Tourist Visa:
- 30-Day e-Tourist Visa: Perfect for a quick trip. It allows Double Entry, meaning you can leave to a neighbouring country (like Nepal or Sri Lanka) and come back once within that 30-day window.
- 1-Year e-Tourist Visa: Valid for 365 days from the date it is granted. This allows Multiple Entries.
- 5-Year e-Tourist Visa: Valid for five years from the date of grant. Also allows Multiple Entries.
Crucial Rule: The ‘Continuous Stay’ Limit
A common mistake travelers make is thinking a 1-year or 5-year visa allows them to stay in India for a year straight. It does not.
- UK, USA, Canada, and Japan Citizens: You can stay for a maximum of 180 days continuously. After 180 days, you must leave the country, though you can return shortly after.
- All Other Nationalities: You are generally limited to a maximum of 90 days per visit.
- Annual Limit: Regardless of your nationality, you cannot spend more than 180 days in India in total within a single calendar year.

Part 3: What You Need Before You Start
The Indian e-Visa portal is known for being a bit finicky. It can timeout if you take too long, and it is very strict about file sizes.
To make the process smooth, have these items ready on your desktop before you even open the website:
- A Digital Passport Photo:
- Format
Format: JPEG.- Size: Minimum 10 KB, Maximum 1 MB.
- The photo must be square, have a white or light-colored background, and show your full face without glasses or hats.
- A Digital Passport Photo:
– Format: JPEG.
– Size: Minimum 10 KB, Maximum 1 MB.
– The photo must be square, have a white or light-coloured background, and show your full face without glasses or hats. - A Scanned Copy of Your Passport:
– Format: PDF (the portal will not accept JPEG for the passport scan).Size: Minimum 10 KB, Maximum 300 KB.
– This must be the bio-data page showing your photo and personal details. - An Indian Reference:
– The form asks for the name and address of a contact person in India. If you don’t know anyone, simply use the address and phone number of the first hotel or hostel you have booked. - Payment Method:
– A credit card, debit card, or PayPal account. Note that there is a 2.5% bank surcharge added to the fee.
Part 4: Step-by-Step Guide – Visa for India
Official Website: Only use the government site: indianvisaonline.gov.in.
Avoid third-party agency sites that charge triple the price!
Step 1: Preliminary Details
On the first page, you’ll enter your nationality, passport type (Standard Passport), port of arrival, and date of birth. You will also select your visa service (e.g., e-Tourist Visa for 30 days).
- Tip: The 30-day visa for India has a specific validity window. Ensure your expected date of arrival falls within the window allowed from the date of application.
Step 2: Applicant Details & Temporary Application ID
Once you hit ‘Continue’, a Temporary Application ID will appear at the top of the screen. Write this down immediately.
If the website crashes or your internet drops, you can use this ID to resume your application. Without it, you have to start from scratch.
In this section, you’ll enter your place of birth, religion, and Visible Identification Marks. If you don’t have a visible tattoo or scar, just type ‘NONE’.

Step 3: Family and Occupation
You must provide the full names and birthplaces of your mother and father.
- Note on Heritage: The form will ask if your parents or grandparents were ever citizens of Pakistan. If the answer is yes, you cannot apply for an e-Visa and must apply for a physical visa at an Indian Embassy.
For occupation, be honest. If you are a student, freelancer, or retired, choose the appropriate category.
Step 4: Previous Travel & SAARC Countries
India is very interested in your travel history. You’ll be asked to list the countries you’ve visited in the last 10 years. If you are a frequent traveller, the box might run out of space—just list the most recent 20 or so.
You will also be asked if you have visited any SAARC countries in the last 3 years (Afghanistan, Bangladesh, Bhutan, Maldives, Nepal, Pakistan, Sri Lanka).
Step 5: Uploading Documents
This is where most people struggle.
- The Photo: Upload your JPEG. You will be able to crop it on-screen to fit the square requirements.
- The Passport: Upload your PDF. Ensure it is clear; if the text is blurry, your visa may be rejected.
Step 6: Payment – Visa for India
After a final review of your data, you will proceed to the payment gateway. The fee varies depending on your nationality and the duration of the visa (e.g., $10-$25 for 30 days, or up to $100 for 5 years).
Once paid, your status will change to ‘Under Process’.

Part 5: Receiving Your ETA – Visa for India
The official processing time is 72 hours, though we often receive ours within 24–48 hours. You will receive an email notifying you of the “Granted” status.
Crucial Step: You must go back to the official website, click “Check Status,” and download the actual Electronic Travel Authorization (ETA) document. This document has your photo and a barcode.
You must print this out. A digital copy on your phone is usually fine for the airline, but Indian immigration often requires the physical paper copy to stamp.
Part 6: Tips for a Successful Application
These are a few tips that we have learnt over the last couple of years applying for multiple Visa for India for ourselves, our family and to support friends on our Group Trips to India too.
- Avoid Safari: Many users report that the payment gateway glitches on the Safari browser. Use Google Chrome or Microsoft Edge for a smoother experience.
- Check Your Passport Validity: Your passport must be valid for at least 6 months from the date of your arrival in India and must have at least two blank pages for stamps.
- The 30-Day Window: If you apply for a 30-day visa, don’t apply too early! The ETA usually expires 30 days after it is issued, meaning you must enter India within that window. If you apply 40 days before your trip, your visa will expire before you even land.
- Be Patient: The website is a bit dated and can be slow. If an error message appears, wait a few minutes and try again using your Temporary Application ID.
Part 7: Final Thoughts
Getting your e-Visa for India is the first official step of your journey. While the form is long and asks for a lot of detail, it is a small price to pay for the incredible experiences that await you.
India is a land of extremes—it can be overwhelming, beautiful, frustrating, and inspiring all at once. By having your paperwork in order before you land, you give yourself the best possible start to an unforgettable trip.
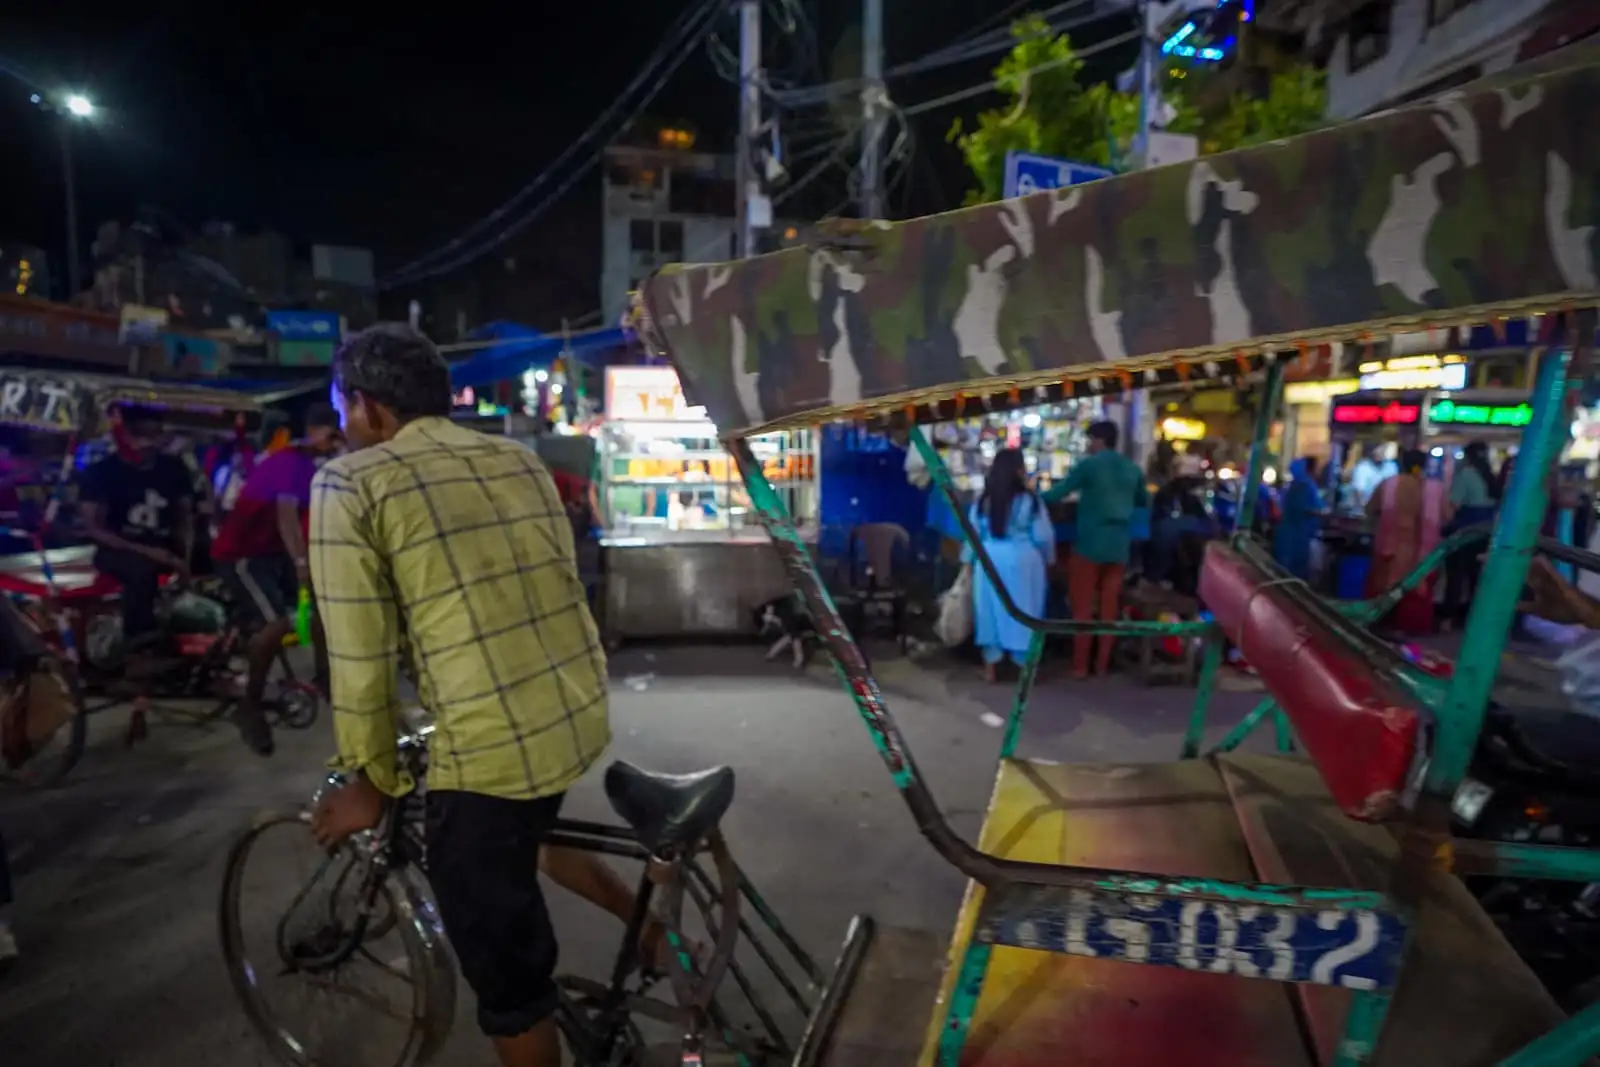
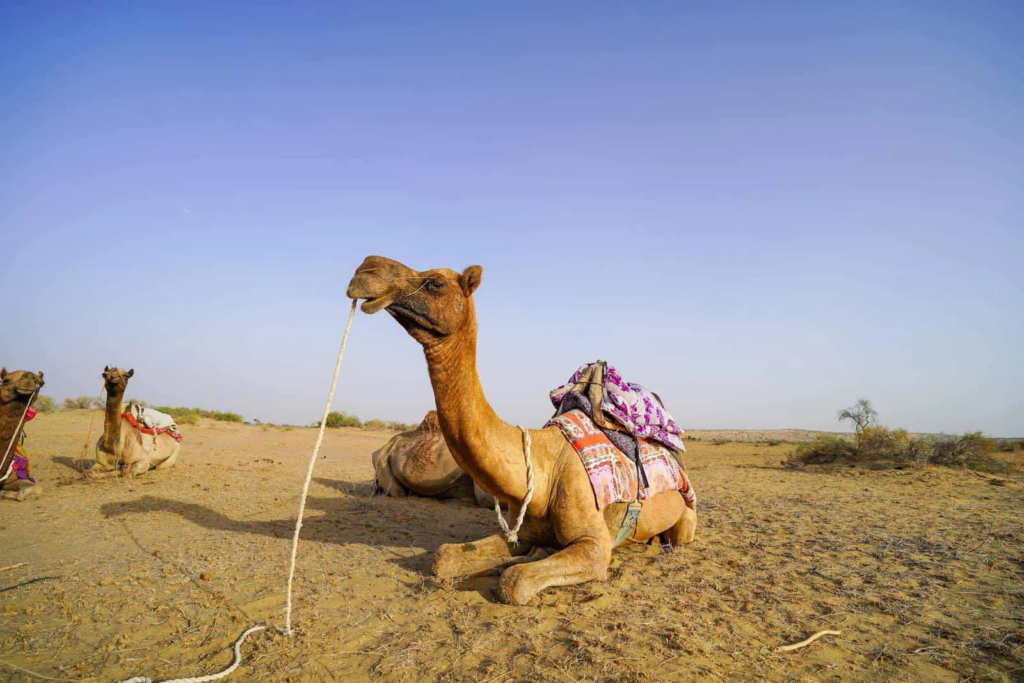
Whether you’re heading to the incredible deserts of Rajasthan, the beaches of Goa, or the bustling markets of Delhi, we wish you the most incredible journey.
Namaste!
Accommodation: Where to Stay in India
Pigeons aside (Ajmer) there are some great places to stay in India.
Where We Stay in Delhi
- New Delhi Airport – Mid-Range: Taurus Sarovar Portico
Beautiful hotel only a few km’s from Delhi International Airport. A great first stop arriving in India with buffet breakfast included and a restaurant onsite. - Delhi – Budget: Hotel Hari Piorko
Good location in the heart of the Main Bazaar, Delhi. Close to restaurants and train station. No view from rooms. - Delhi – Budget: Smyle Inn
Extremely basic hotel in small back alley. Very friendly, helpful staff and simple breakfast included. Just off Main Bazaar.
Travel Planning for India & Beyond
These are the companies we use while traveling fulltime as a family and that we would recommend to anyone planning and booking travel.
- Booking.com – The best all-around accommodation booking site that constantly provides the cheapest and lowest rates. They have the widest selection of budget accommodation and it’s easy to filter and sort into price and availability with all the extras you are looking for personally.
- Skyscanner– This is by far our favourite flight search engine. They are able to search small websites and budget airlines that larger search sites often miss. We book all our flights through Skyscanner.
- GetYourGuide– Get Your Guide is a huge online marketplace for tours and excursions offered all around the world. Everything from walking tours, to street-food tours, cooking classes, desert safari’s and more!
- SafetyWing – A global travel insurance that covers people from all over the world while outside their home country. You can buy it short or longterm; and even if you are out of the country.
- World Nomads – Tailored travel insurance (including for those who have already left home) – MAKE SURE YOU HAVE GOOD TRAVEL INSURANCE BEFORE TRAVELING TO INDIA!

Hi! I’m Sarah. I am the self-confessed dreamer, travel-schemer and the main editor behind this blog. I love to write, and it is a dream come true to share so many experiences together and inspire others in our stories.